Inexpensive HomeKit/Hue LED Controllers: Homebridge Plugin
Most of the lighting in my house is Philips Hue, but when adding LEDs to my setup I was against the idea of spending £70 for two meters of Philips Hue tape. I knew there would be a better solution, one that would let me use generic LED tape. After researching, I found the perfect solution, an LED controller that supported Zigbee.
Before settling on this solution, I played with some Wi-Fi strip controllers. But, the results weren’t ideal turning my lights on the Hue stuff would come on, then about 2 seconds later the LEDs would follow. This wouldn’t do… While browsing AliExpress, I found some Zigbee controllers on seemed to fit the build. I was sceptical at first, but decided I’d order a couple, and after messing around with them, I’m sold!
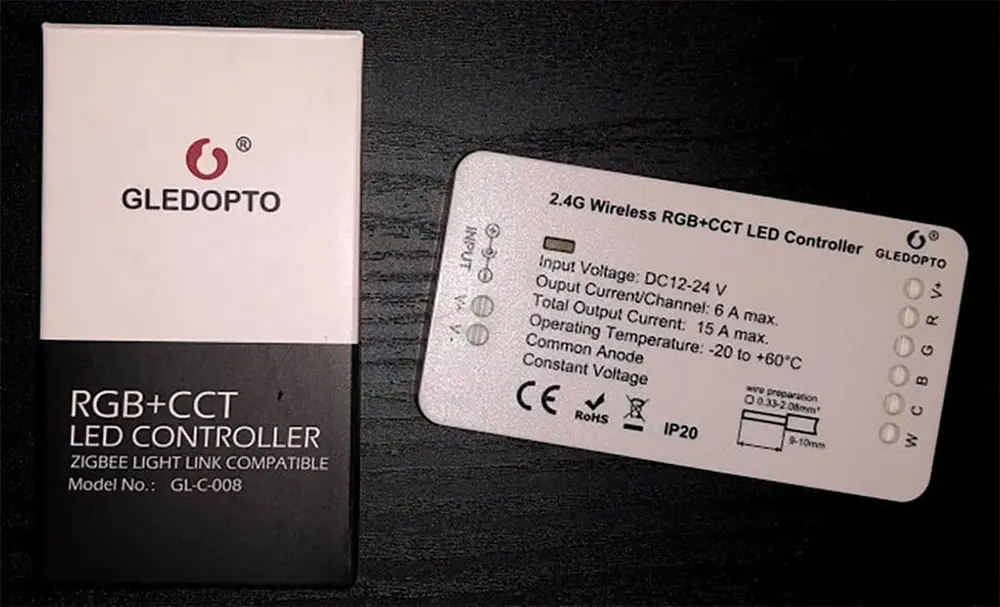
The company who makes these controllers, Gledopto, had quite a range of different models. I went for the RGB+CCT controllers as they give a full range of colour and whites (CW/WW). If buying, be aware that some expose as two fixtures, one for colour and one for whites. For a full breakdown on the different types, check out this reddit post.
Connecting the Controllers
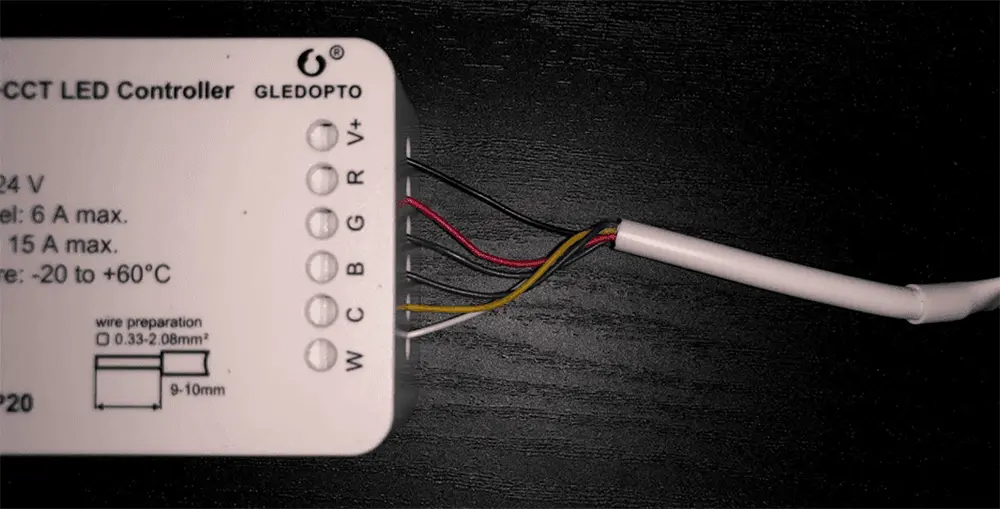
When the RGB+CCT tape I ordered arrived, it came with header pins. I didn’t want to waste a bunch of jumper cables, so cut off the end and exposed the wires. If you order the same LEDs, the wires inside have colour coding. To connect them to the controller, hold a screwdriver in the hole and insert the stripped cable.
Looking at the size of the pads, I’m not looking forward to soldering the next section of tape.
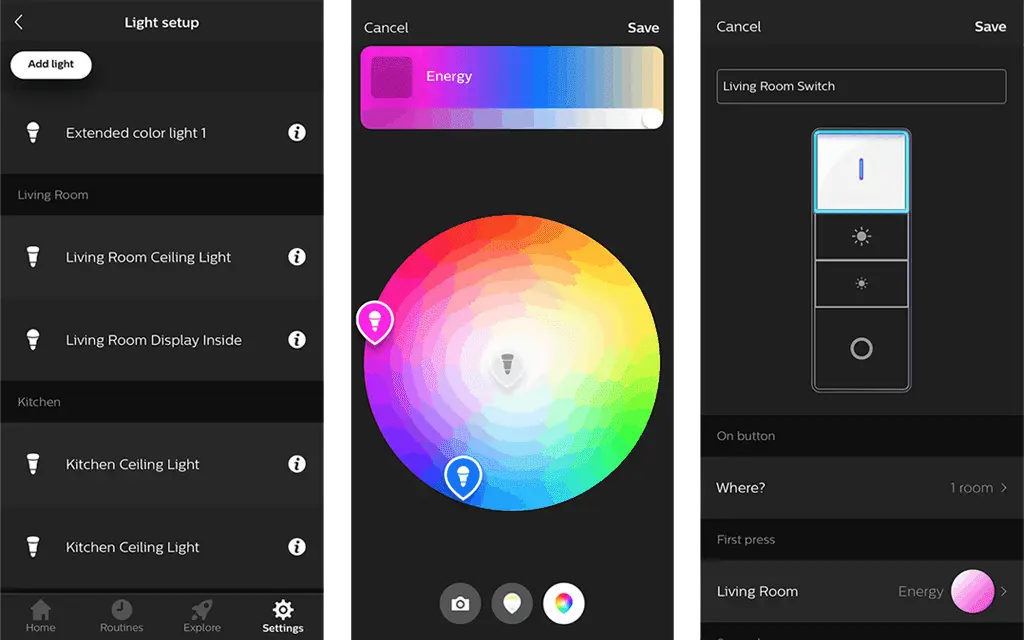
After wiring the LEDs, connect the controller to the mains, and the tape should illuminate. You can use any Zigbee Bridge such as the IKEA TRÅDFRI or Amazon Echo Plus to add the light. However, for this setup, I’ll be using my existing Hue setup. To add these controllers to a Hue Bridge, use the Add Light wizard under Light setup the Settings Tab.
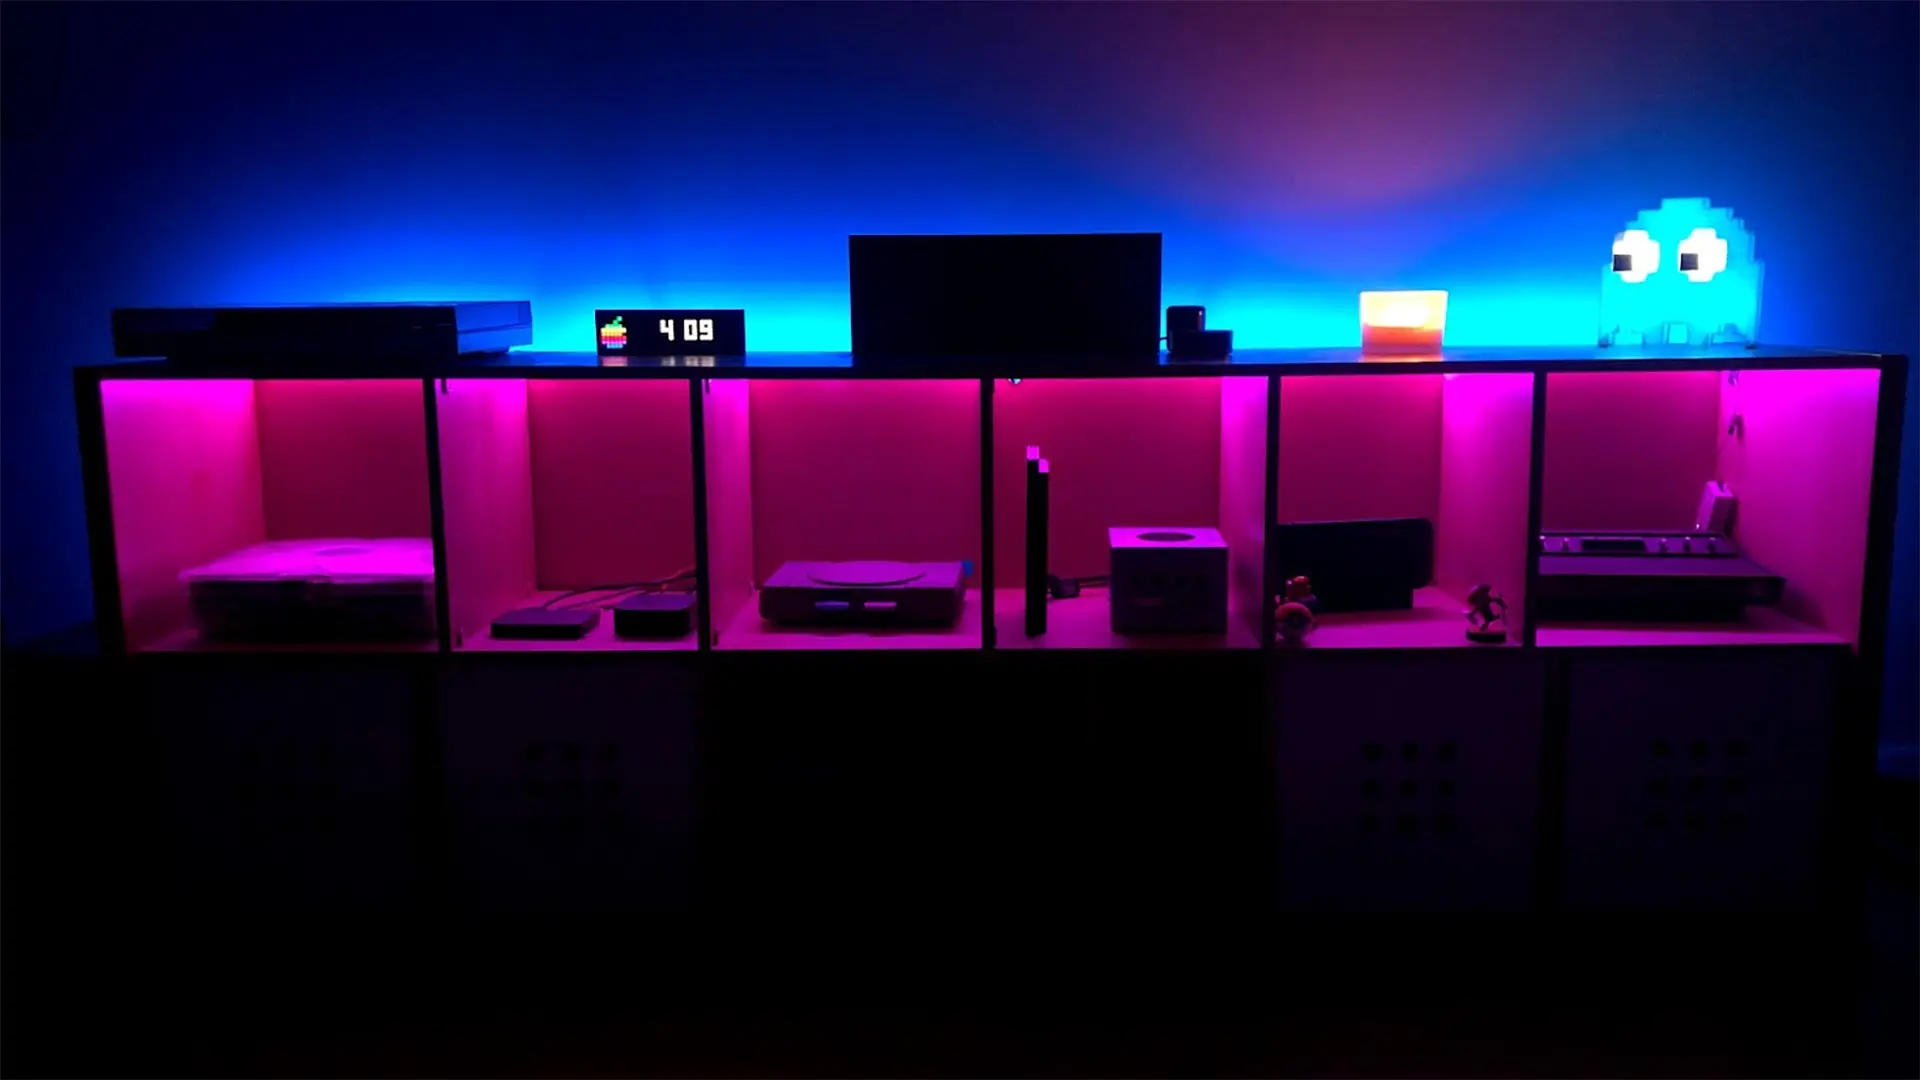
The new light will appear on the Hue app as ‘Extended color light 1’. Rename it and add it to the desired room as you would any light. After this, I spent some time adjusting the scenes so that in my living room they would appear as blue and pink.
If you only wanted Hue support, then you can jump off at this point. But, because of Apple’s HomeKit rules, 3rd party bulbs don’t appear in the Home app… this looks like a job for Homebridge!
Homebridge Setup
Exposing these controllers to HomeKit was simple. When I started messing with Homebridge, I came across the homebridge-hue plugin but didn’t think I’d need it. Now that I’m trying to expose something 3rd party from Hue to HomeKit, I couldn’t live without it!
To install this plugin, type the below command:
sudo npm install -g homebridge-hueOnce installed, you can configure the plugin. As you’ll only want to expose lights that Hue doesn’t expose to HomeKit, the config will be very concise. If you need other parameters, you can check out the plugin’s configuration wiki here. To expose these lights, add the below code to your config.json file—if you have other platforms, add this as an extra:
"platforms": [
{
"platform": "Hue",
"users": {
"001788FFFExxxxxx": "xxxxxxxxxxxxxxxxxxxxxxxxxxxxxxxxxxxxxxxx",
"001788FFFEyyyyyy": "yyyyyyyyyyyyyyyyyyyyyyyyyyyyyyyyyyyyyyyy"
},
"lights": true
}
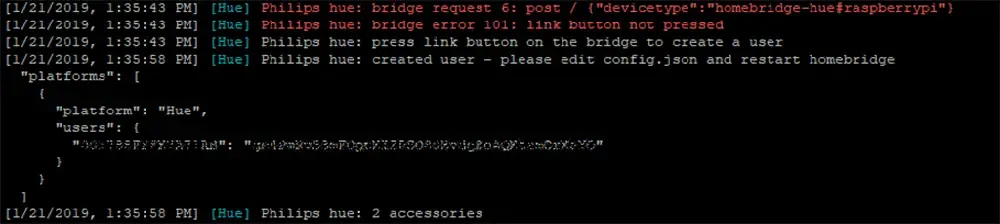
]Save the config and startup Homebridge. When Homebridge first starts, it will kick out an error. To fix this, press the link button on the Hue Bridge and Homebridge will start up fully. The console will show a code and ask you to add it to the config.json file.
If you’re using PuTTY to copy, highlight the user text. You’ll then want to delete the two users from the above config and replace them with the one you copied. To paste this, move the text cursor to where you want to insert it and right-click.After these tweaks, Homebridge will start up without intervention.
Overall, I’m extremely happy with this project. So far I’ve bought and setup two controllers, and have still spent less than the two-meter Hue Strip. I’ve had these strips for two weeks and have had zero issues. The colour output is great and they sync perfectly with my Hue Lights, so I’m sold on them. If you have questions about these controllers, drop a comment below and I’d be more than happy to answer them!
Featured Equipment
As an Amazon Associate, TechTrail earns from qualifying purchases made with some store links.